How to create a Facebook Page
The official Facebook channel your clinic uses to talk with patients — from creating it to checking your role and finding the Page ID.
What is a Facebook Page?
A Facebook Page is a business space that is separate from your personal profile. Patients “Like” the page or send it messages, while the clinic posts updates, announcements, and events.
A Page connects through “Likes”/“Follows” rather than friend requests. Patients never need to send the clinic a friend request.
This page is required for Coauths CRM to send and receive messages through Messenger. The Page ID is the identifier for the CRM connection.
Do I need a new one? (if you already have one)
If your clinic already has a page, do not create a new one. Splitting your followers and reviews works against you.
Instead, check the following:
- Whether you are an Admin of that page → if not, ask the current Admin for access
- Whether the page is Published → if it is Unpublished, it is private and patients cannot see it
- Whether the category is a business one (Medical & Health, etc.) → change it if it is something like Personal Blog
Create a new Page (step by step)
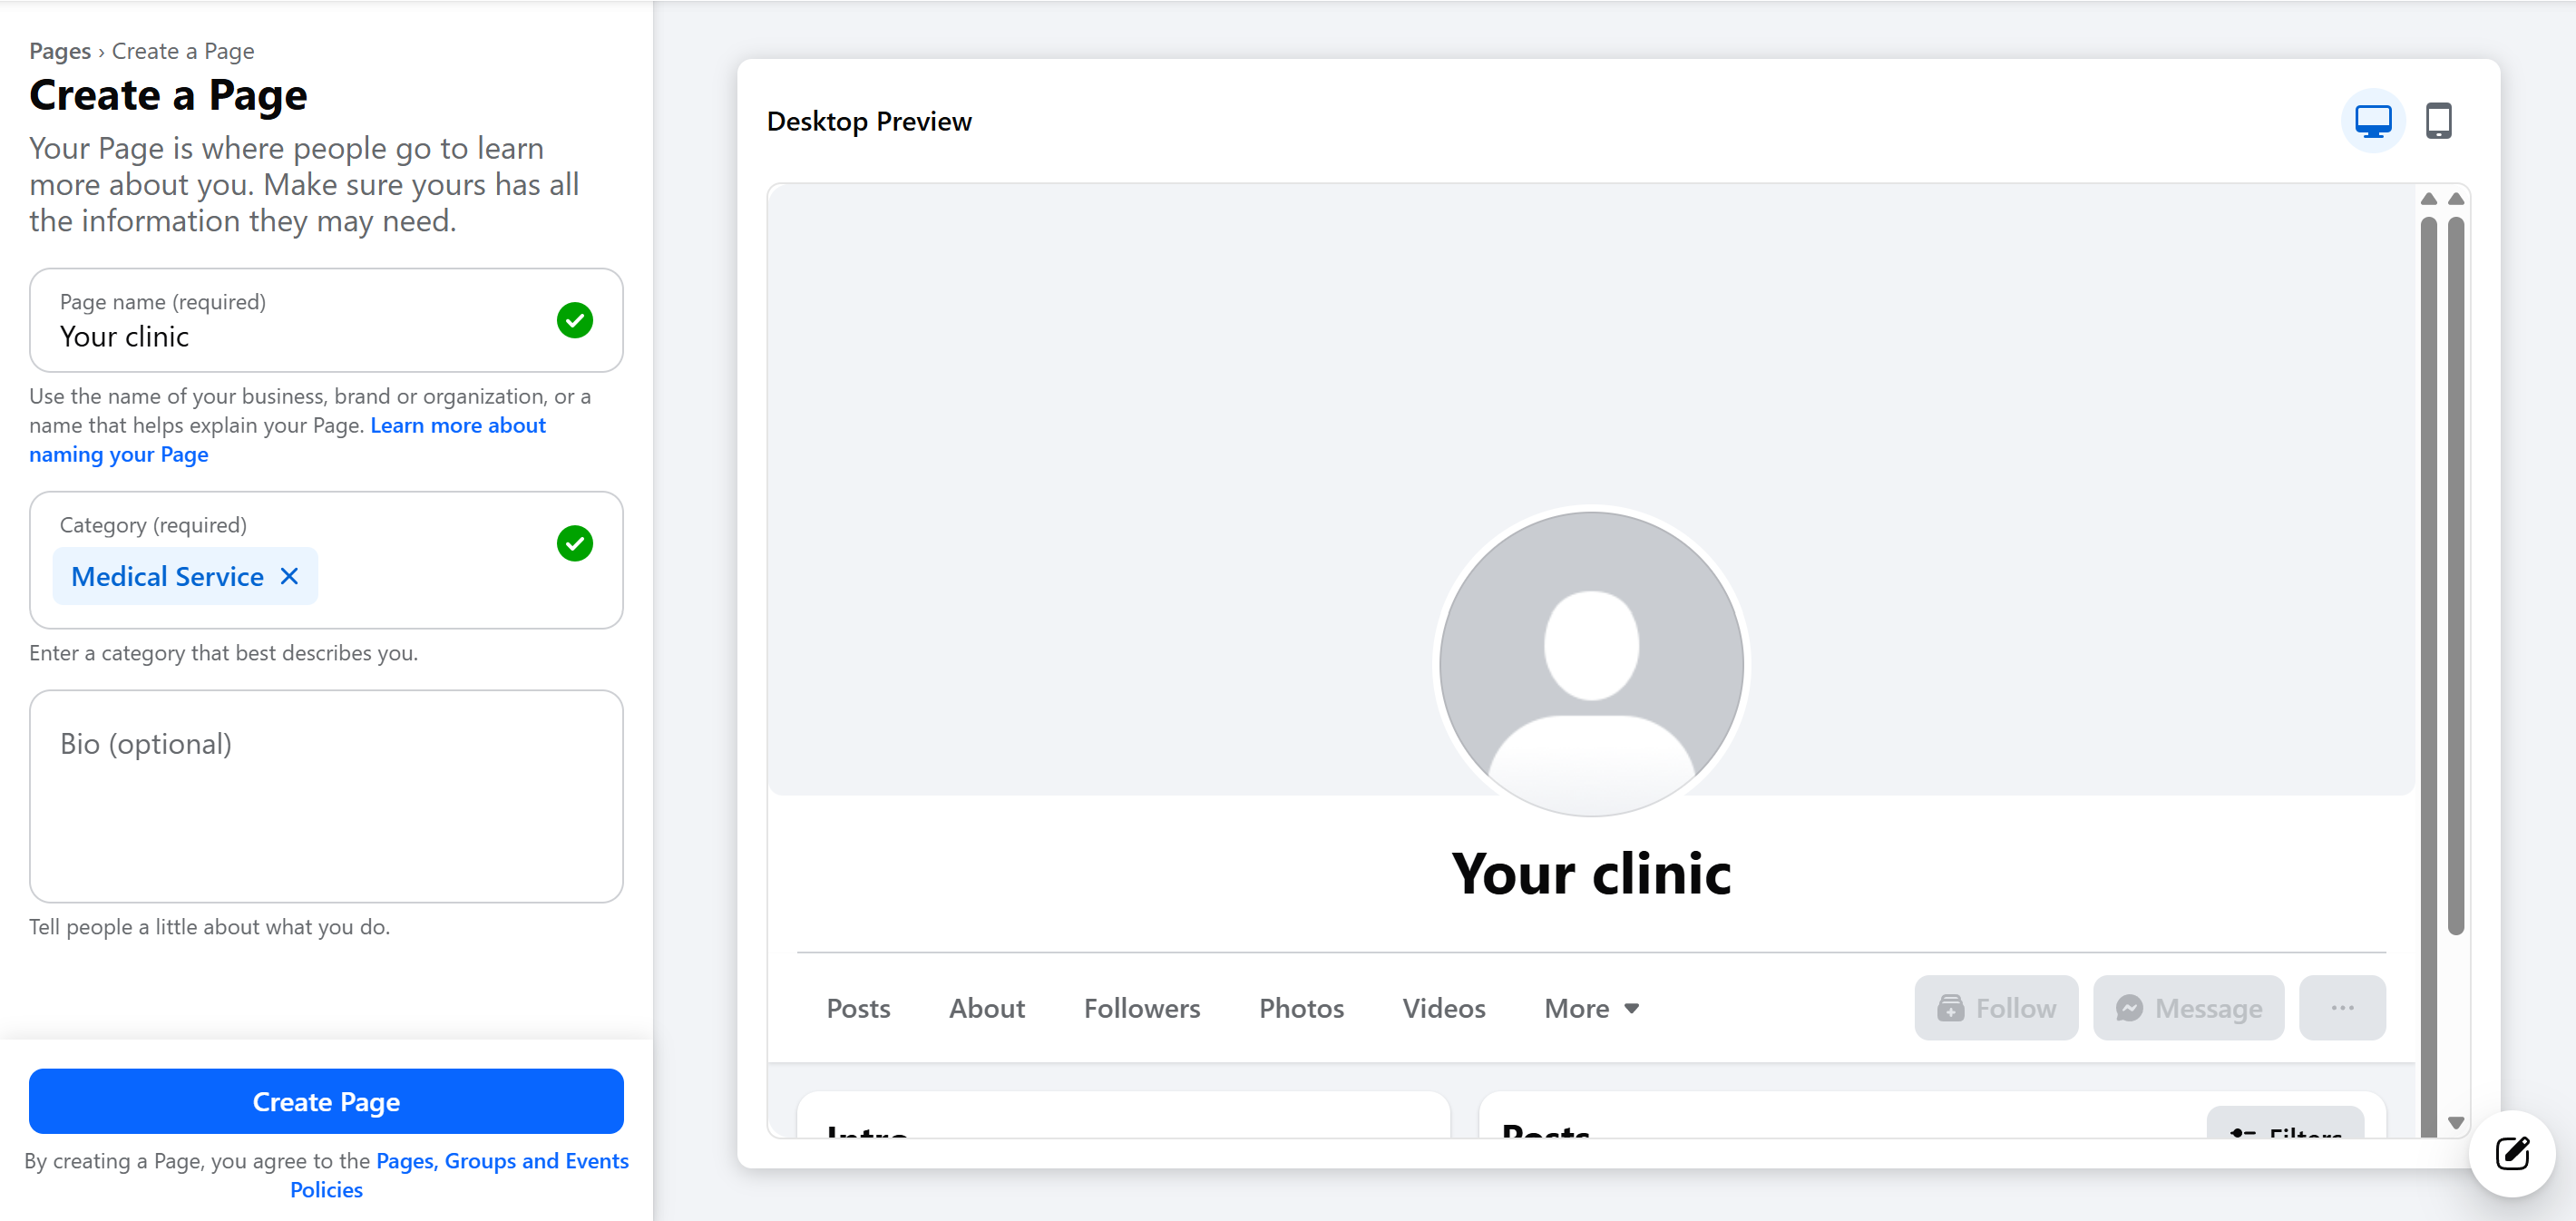
- Log in to your own Facebook → facebook.com/pages/create go to this URL
- Page name: your clinic's official name (e.g.,
코아우스 강남 클리닉)- Make it identical to your actual signage name — there is a matching check during Business Verification
- Names that are only overly generic words (e.g.,
치과) may be rejected
- Category: choose after referring to the next section (up to 3)
- Bio (optional): a one-line introduction (255 characters)
- Click Create Page
- Follow-up settings (do not put these off):
- Profile photo: your logo (170×170px recommended)
- Cover photo: your exterior or treatment space (1640×856px recommended)
- Address, phone, hours: enter these in the About section
- Website URL: your clinic's homepage
- Action Button: enable “Book Now” or “Send Message”
- When done, Publish Page
Which category should I choose?
Recommendations by clinic type:
- Dermatology / aesthetic clinics:
Skin Care Service+Medical Service - Plastic surgery:
Plastic Surgeon+Cosmetic Surgery - Dental:
Dentist Office+Dentist & Dental Office - Korean medicine:
Acupuncturist+Alternative & Holistic Health Service - General practice / pediatrics:
Medical Service+Family Doctor - Ophthalmology:
Eye Care Center+Optometrist
Role types and checking Admin
A Facebook Page has 6 roles:
- Admin — full access (including adding/removing other Admins). At least 1 is required.
- Editor — create posts, reply to messages, run ads (lacks only Admin privileges)
- Moderator — reply to messages, manage comments. Cannot create posts.
- Advertiser — run ads only. No messaging.
- Analyst — view stats only. No editing.
- Jobs Manager — manage job postings only.
To connect to Coauths CRM, you must be an Admin. Admin access is required to select the page in the CRM's “Connect with Facebook” popup.
How to check your own role
- Go to the Page → left menu Settings
- New Pages Experience → Page Access (or Page Roles in Classic)
- Check the role shown next to your name
How to find the Page ID (usually not needed)
For a normal connection, you do not need the Page ID, because you select the page by name directly in the CRM's “Connect with Facebook” popup. In special cases, though, we may ask for the Page ID when doing a manual connection together with your Coauths representative, so we are leaving the steps here for reference. The Page ID is a 15- to 17-digit identifier made up of only numbers (not the page name or the vanity name in the URL).
Method 1: the About page
- Go to the Page → left About
- Scroll all the way down → the Page Transparency or Page ID item
Method 2: check the URL
If the Page address is numeric like facebook.com/12345678901234567, that number is the Page ID. If it is a vanity URL like facebook.com/coauths-clinic, use Method 1.
Frequently asked questions
Q. Can I keep the page private?
You can leave it Unpublished, but then patients cannot send you messages. After publishing, the normal state is Page Visibility = Published.
Q. Can I run multiple pages? (one per branch)
Yes. If you have many branches, there are two approaches:
- A single page + Locations — register the branches as Locations under one main-branch page. Brand recognition is not split. Recommended.
- A page per branch — patient messages come into each branch's page separately. You can connect them as a per-branch ChannelAccount in Coauths CRM.
Q. Can I change the page name later?
You can, but there is a limit on how often (usually once a year). We recommend using the correct name when you first create it. To change it: Settings → Page Info → Name → Edit.
Q. What do I do after creating the Page?
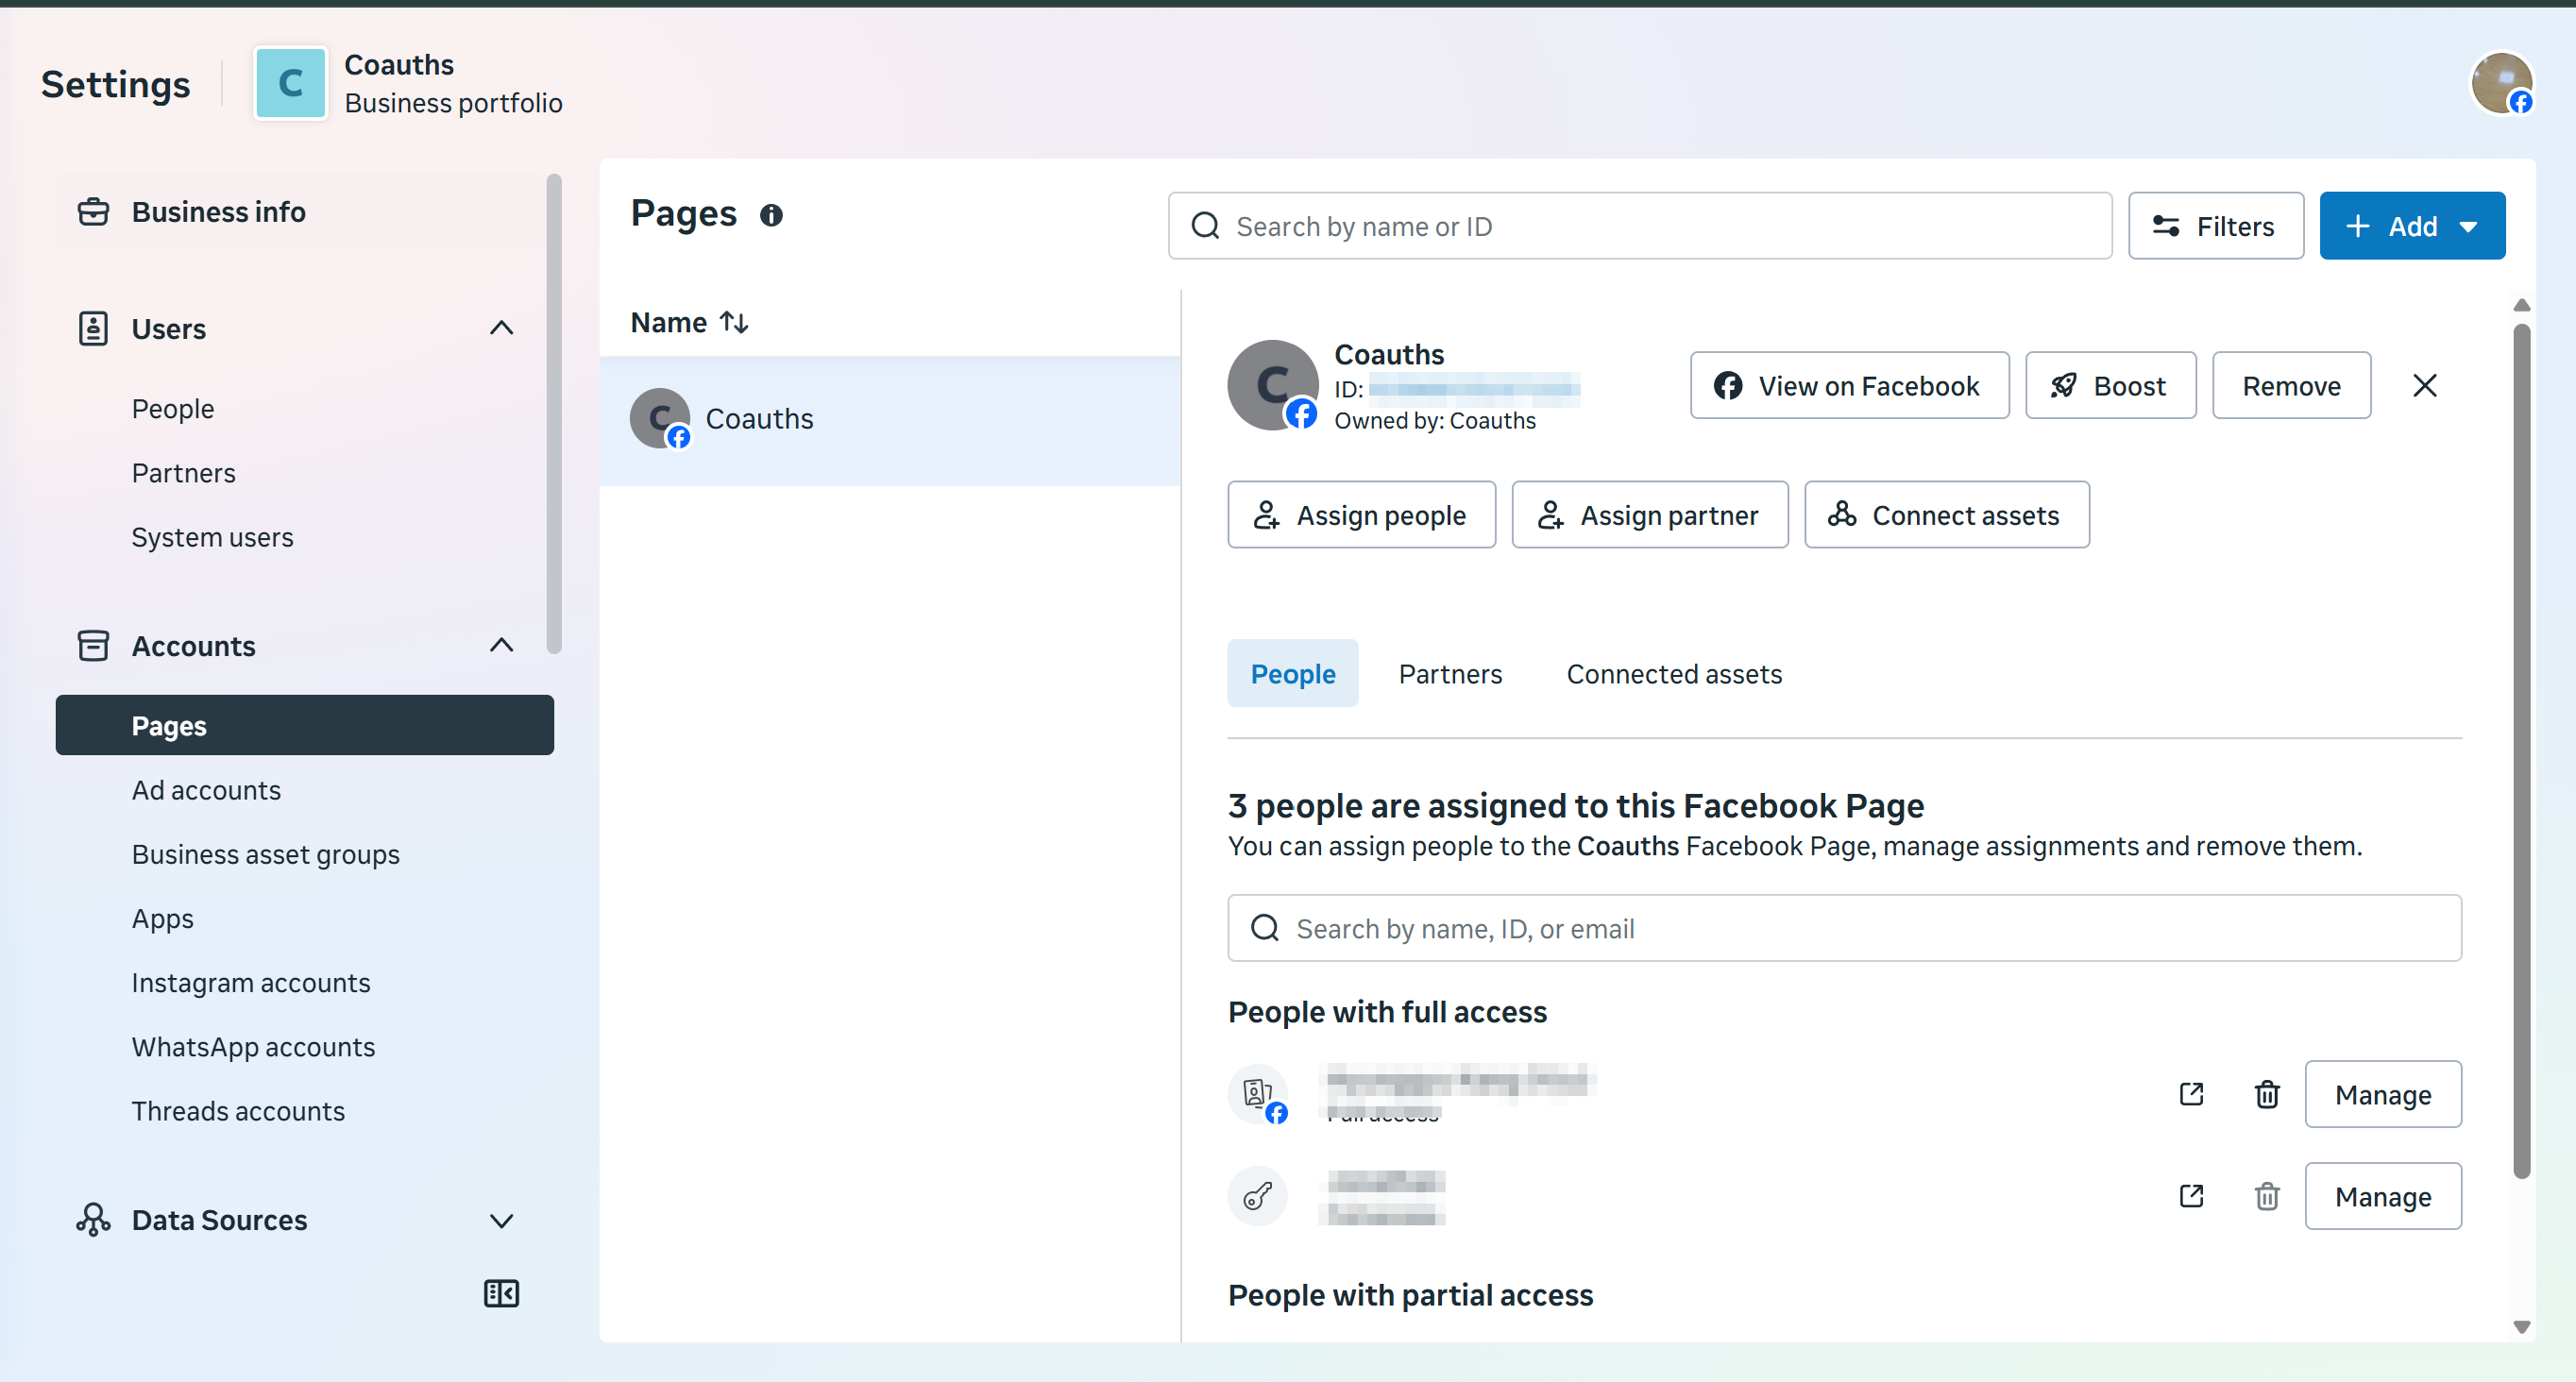
- Add the Page to Business Manager → Business Manager guide
- Start Business Verification
- Create a Meta App
- Step 4 (Messenger setup) of the main setup guide
📍 If you get stuck anywhere, contact your Coauths representative.